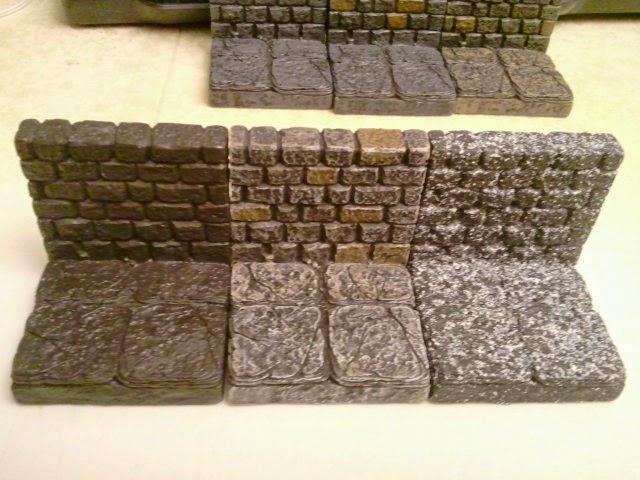
In the previous Kickstarter, I bought unpainted tiles. They were perhaps $30 cheaper for set, and I felt if I wanted to paint them I could handle it myself. Around a month ago, I finally got serious about painting them. Dwarven Forge produced a very helpful in-depth video demonstrating how to paint the tiles. http://www.youtube.com/watch?v=8VCa23FMigw An experienced painter might this video unnecessary, but I certainly felt more comfortable after seeing Stephan's demonstrations. The video covers intricate details like proper drybrushing and color recommendations, to the mundane aspects like mixing paints and cleaning brushes.
The video shows four painting steps. The pictures below show the process from unpainted tiles to final game-ready painted tiles. I also included a picture of a tile painted using stone-texture spray paint. (Had to try it. Would have been a great time-saver.)
Comparison 1- Unpainted thru 4 coats + sprayed
Comparison 2- Final + Unpainted + Sprayed
Comparison 3- Unpainted + Final + Sprayed
Detail 0- Unpainted
Detail 1- Base Coat
Detail 2- Highlight
Detail 3- Unifying Coat
Detail 4- Final Coat
Detail 5- Sprayed
This is a link for the Cavern Tiles Kickstarter:


No comments:
Post a Comment